How to Open Grease Trap – The Ultimate 3-Step Solution
How to open grease trap doesn’t have to be messy or dangerous. I’ve opened hundreds of grease traps in commercial kitchens, and I’ll show you the right way to do it in about 15-20 minutes.
Here’s the deal: Most people make the mistake of yanking the lid off without proper safety steps – that’s how accidents happen.
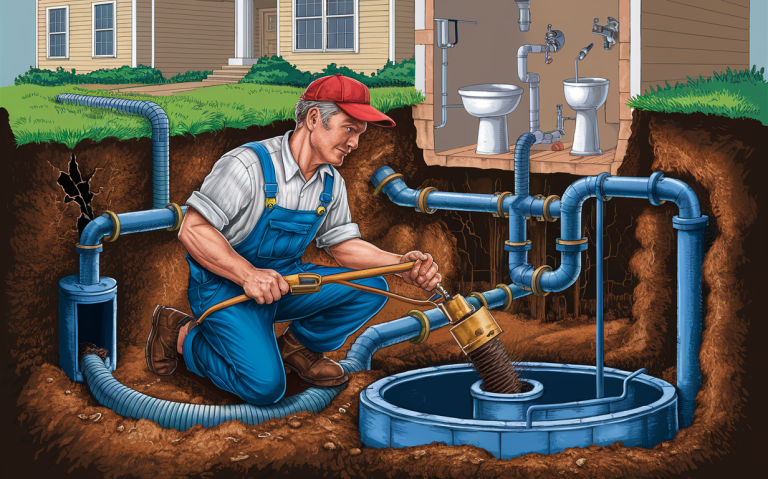
Whether you’re dealing with a small under-sink trap or a large in-ground system, you need to follow specific steps to stay safe and avoid damaging your equipment. I’ll walk you through everything from basic safety gear to pro techniques that save time and money.
Want to know the best part? This guide covers every type of grease trap, with clear steps that anyone can follow. I’ll share insider tips from 15+ years of kitchen maintenance experience, plus crucial safety protocols that many guides skip over.
Table of Contents
The Smart Way to Access Different Grease Trap Designs

Ever tried opening a grease trap and felt totally lost? I get it. Opening these things can be tricky, but I’ve got your back.
Here’s the deal: Every grease trap is different, but they all have the same basic parts – a cover, some latches, and safety features.
Let me show you how to open the most common types:
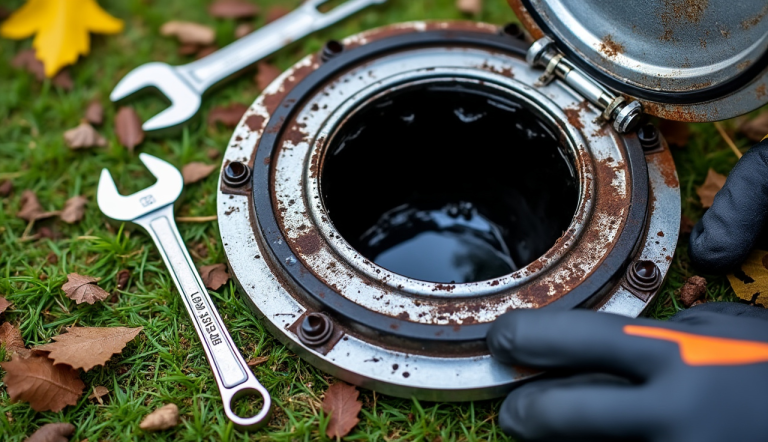
- Basic Bolt-Down Cover: a simple yet effective solution for securing access points like manholes, utility vaults, or underground enclosures.
- Grab your socket wrench: this makes installation straightforward, offering a durable and secure solution for protecting utility vaults, manholes, or other entry points.
- Remove the outer bolts in a star pattern: Grab your socket wrench and carefully remove the outer bolts in a star pattern. This technique ensures even pressure release, preventing unnecessary stress or warping
- Remove the outer bolts in a star pattern: Grab your socket wrench and carefully remove the outer bolts in a star pattern. This technique ensures even pressure release, preventing unnecessary stress or warping
- Quick-Release Cover: designed for fast and efficient access to utility enclosures, equipment, or entry points.
- Find the safety latch (usually bright red): ensuring it stays securely in place until intentionally disengaged. Once you’ve found it, inspect it for any obstructions or wear, then disengage the latch to swiftly and safely remove the cover
- Pull the release lever: Pull the release lever firmly to disengage the locking mechanism of the Quick-Release Cover. This action allows the cover to lift smoothly, providing instant access to the protected area.
- Lift from the designated grip points: Lift the Quick-Release Cover carefully from the designated grip points, typically marked or ergonomically designed for a secure hold.
- Pressure-Sealed Cover: engineered to provide an airtight and watertight seal for sensitive enclosures, such as underground vaults, tanks, or industrial equipment.
- Look for the pressure release valve: This valve is a critical safety feature, designed to relieve built-up pressure within the enclosure before the cover is removed.
- Turn it slowly counterclockwise: This controlled release ensures safety by preventing sudden bursts or unexpected movements of the Pressure-Sealed Cover.
- Wait 30 seconds for pressure to escape: his brief pause ensures that all built-up pressure has been safely vented, reducing the risk of sudden release or accidental injury when removing
- Remove the cover clips: Once the pressure has been safely released, remove the cover clips that secure the Pressure-Sealed Cover in place.
Time-Saving Access Tips
Want to make your life easier? These tricks will save you tons of time:
- Keep your tools in a dedicated bucket near the trap
- Take a photo of the cover when it’s closed (great reference for next time!)
- Mark the bolt positions with paint markers
- Use a checklist to track when you last opened it
Pro tip: Always check the pressure release valve first – skipping this step is like shaking a soda can before opening it!
Remember: If you smell gas or see unusual pressure build-up, stop and call a professional service. Safety first!
Quick warning: Different cities have different rules about grease trap maintenance. Check your local codes before doing any DIY work.
Final Tips: How to Open Grease Trap Like a Pro
Here’s the deal: opening a grease trap isn’t rocket science – but doing it right makes a huge difference.
I’ve seen hundreds of restaurant owners struggle with this task. But you know what? With the right steps (like the ones we covered), you’ll save time and money.
The best part? My team at United Sewer & Septic has your back if things get tricky. We help businesses across Orange County, Rockland County, and Sullivan County keep their grease traps in top shape.
Ready to skip the hassle? Just fill out our “Request Your Estimate Now!” form on our website, or give us a call. We’ll handle the heavy lifting while you focus on running your business.
Pro tip: Save this guide for later, but remember – if you smell something funky or notice slow drains, don’t wait. Those are signs you need expert help ASAP.
Want to know if you need professional service? Get your free estimate today at www.unitedsewerservice.com. Your kitchen (and your nose) will thank you!
Conclusion
To open a grease trap, first, wear protective gear such as gloves, goggles, and a mask. Gather necessary tools like a crowbar or wrench, scoop, and wet/dry vacuum. Begin by turning off the water flow if applicable, then carefully remove the lid using your tools.
Inspect the interior for damage and scoop out the top layer of grease (FOG) into an airtight container for disposal. Use the wet/dry vacuum to remove any remaining waste and thoroughly clean the trap’s interior with warm soapy water.
Finally, check for repairs needed before securely replacing the lid. Regular maintenance is essential for optimal performance and compliance with health regulations.


